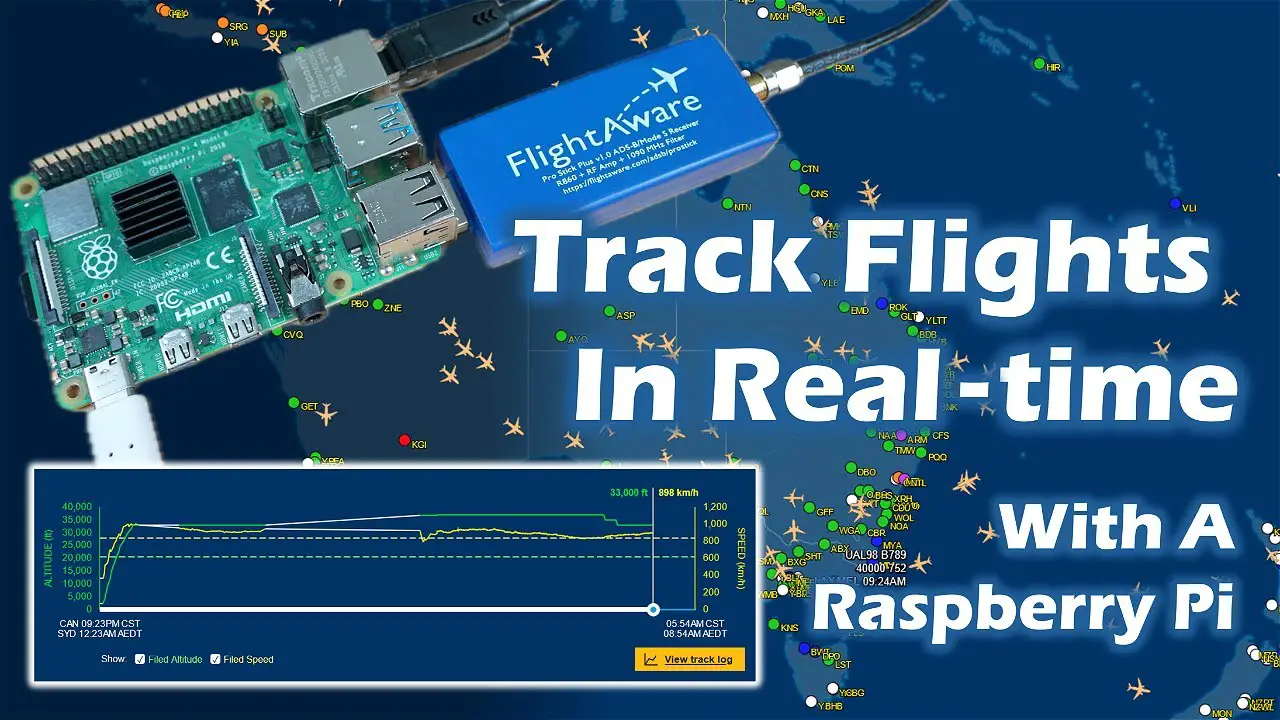
Have you ever seen a flight overhead and wondered where it is going? Or seen a unique-looking aircraft and wondered what type or model it was? Well, today I’ve got something exciting to share with the aviation enthusiasts out there. We’re going to set up our own flight tracker using the FlightAware Pro USB stick and a Raspberry Pi.
ADDITIONAL INFORMATION
—————————————————
Visit my blog for the project write-up – https://www.the-diy-life.com/track-aircraft-in-real-time-with-your-raspberry-pi-using-the-flightaware-pro/
Visit the FlighAware online store to buy a USB stick or kit – https://bit.ly/49RBjgY
PURCHASE LINKS
—————————————————
Raspberry Pi 4 – https://amzn.to/43hxeQF
FlightAware Pro – https://bit.ly/3PjGtdc
Indoor Antenna – https://bit.ly/3VaUNbW
MicroSD Card – https://amzn.to/4bpTiw1
Pi 4 Power Supply – https://amzn.to/3Ti9zuO
Pi 4 Basic Heatsink – https://amzn.to/48M2QPy
Tool & Equipment Used:
Gweike Cloud CO2 Laser Cutter – https://bit.ly/3NayRZv
CHAPTERS
—————————————————
0:00 Intro
0:58 PiAware Assembly
3:03 First Boot & Setup
3:58 FlightAware Web Interface
7:18 Final Thoughts
If you’ve got any ideas for Raspberry Pi, Arduino, or other Electronics projects or tutorials you’d like to see, let me know in the comments section.
source


