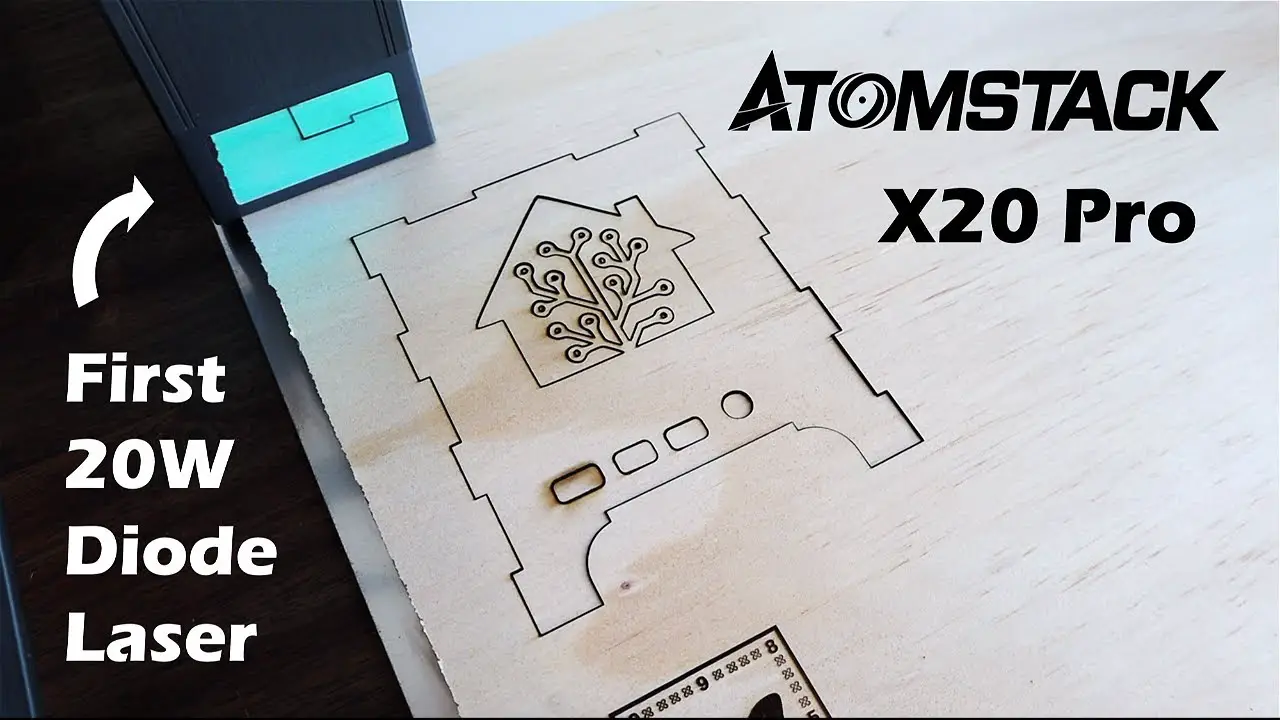
In this video, I’m going to use the new Atomstack X20 Pro laser cutter to make a Home Assistant hub to control my smart home devices. The X20 Pro uses a clever quad laser design to achieve 20W of optical cutting power, a first for a consumer-level diode laser.
Thanks to Atomstack for providing the X20 Pro for this project, check out their online store through the links below.
ADDITIONAL INFORMATION
—————————————————
Visit my blog for the written build – https://www.the-diy-life.com/i-made-a-home-assistant-hub-using-the-atomstack-x20-pro/
Get the Atomstack X20 Pro – https://bit.ly/3zXLJwz
Smart Home Solver’s channel – https://www.youtube.com/c/SmartHomeSolver
PURCHASE LINKS
—————————————————
Raspberry Pi 4B – https://amzn.to/3xJXtQA
32GB Sandisk Ultra MicroSD Card – https://amzn.to/3Qe6ObL
Aluminium Heatsink – https://amzn.to/3QGCYwD
Conbee II Zigbee Gateway – https://amzn.to/3QDFPq5
M3x8mm Button Head Screws – https://amzn.to/3NOTQPT
M3 Nuts – https://amzn.to/3NOTQPT
M2.5 Brass Standoffs – https://amzn.to/3zUkRgT
M2.5 Nuts – https://amzn.to/3zUkRgT
M2.5 Screws – https://amzn.to/3zUkRgT
Equipment Used:
Atomstack X20 Pro – https://bit.ly/3zXLJwz
Electric Screwdriver – https://amzn.to/3aOeDVa
Milwaukee Oscillating Multitool – https://amzn.to/3ba0VvY
Some of the above parts are affiliate links. By purchasing products through the above links, you’ll be supporting this channel, at no additional cost to you.
CHAPTERS
—————————————————
0:00 Intro
0:55 Unboxing & Setup of the X20 Pro
4:25 Test Cut & Engraving
5:25 Designing the Home Assistant Hub
6:05 Laser Cutting the Housing
7:45 Assembling the Housing
8:45 Using the Atomstack App
9:12 Installing the Hub Components
11:35 Zigbee Gateway
12:44 Boot up & Using the Hub
14:05 Final Thoughts
If you’ve got any ideas for Raspberry Pi, Arduino, or other Electronics projects or tutorials you’d like to see, let me know in the comments section.
source