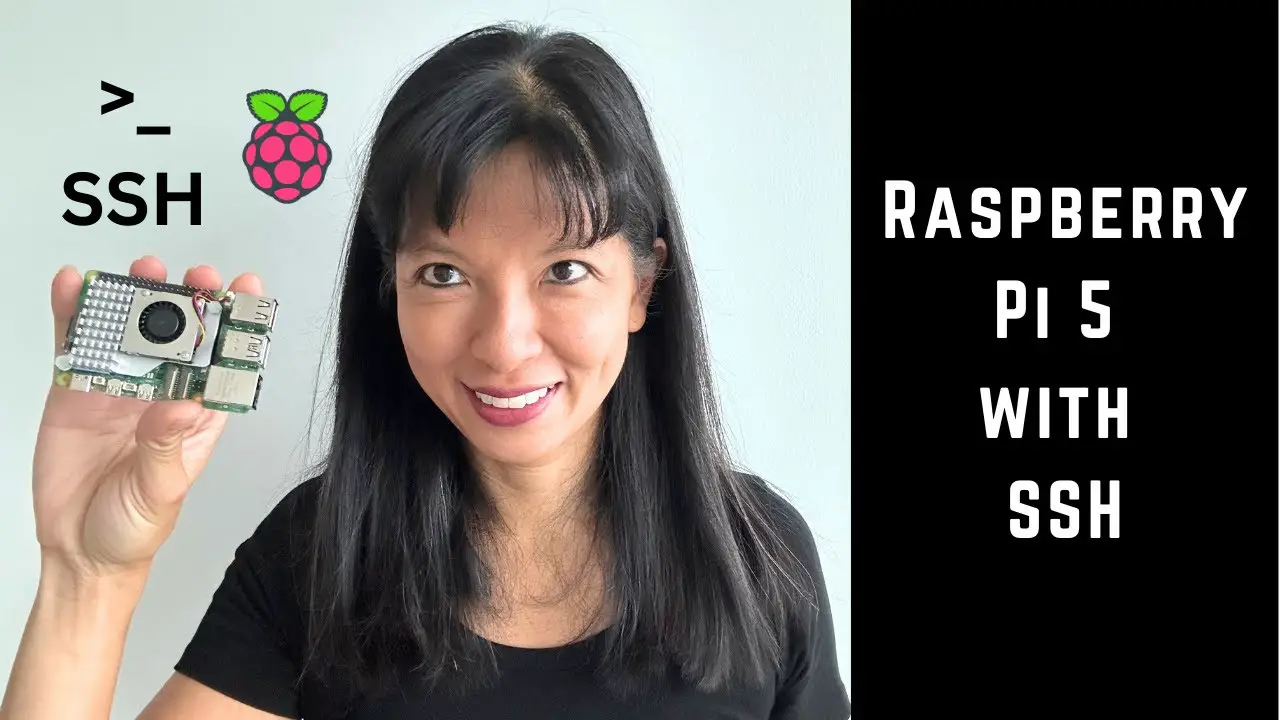
SSH (Secure Shell) is a method to run terminal commands on your Raspberry Pi desktop from another computer such as a Mac or Windows machine.
Requirement: Both your Raspberry Pi and your Windows or Mac computer must be on the same network.
Reasons to use SSH instead of Raspberry Pi Connect
Using Raspberry Pi Connect requires creating an account on Raspberry Pi and validating your email address. If you don’t want to create yet another account with a login and password, then Raspberry Pi Connect might not be for you.
Pre-requisite – Raspberry Pi 5 Basic Setup – https://youtu.be/tftyvWMs-1w
Putty Download – https://www.putty.org/
Items I used in this tutorial:
Raspberry Pi 5 8GB RAM – https://amzn.to/46aQtwV
Raspberry Pi Active Cooler – https://amzn.to/46douwy
Micro HDMI to HDMI adapter – https://amzn.to/46cVPaU
Power Adapter – https://amzn.to/46f8ryc
Logitech Keyboard and Mouse Combo – https://amzn.to/4fe3OZb
3D Printed Raspberry Pi 5 Snap-fit Case – https://makerworld.com/en/models/411280?from=search#profileId-316208
Amazon affiliate links are included through which I may earn a small commission (at no extra cost to you).
Timestamps
0:32 – Find the IP address of your Raspberry Pi
1:09 – Reserve an IP address on your router
1:40 – How to enable SSH from a Terminal on your Raspberry Pi desktop
2:12 – How to enable SSH from your Raspberry Pi desktop
2:36 – On a Mac desktop , open a terminal
2:42 – On a Windows desktop, download, install and open Putty – https://www.putty.org/
2:53 – On the terminal, enter ssh [username]@[ip address]
source


