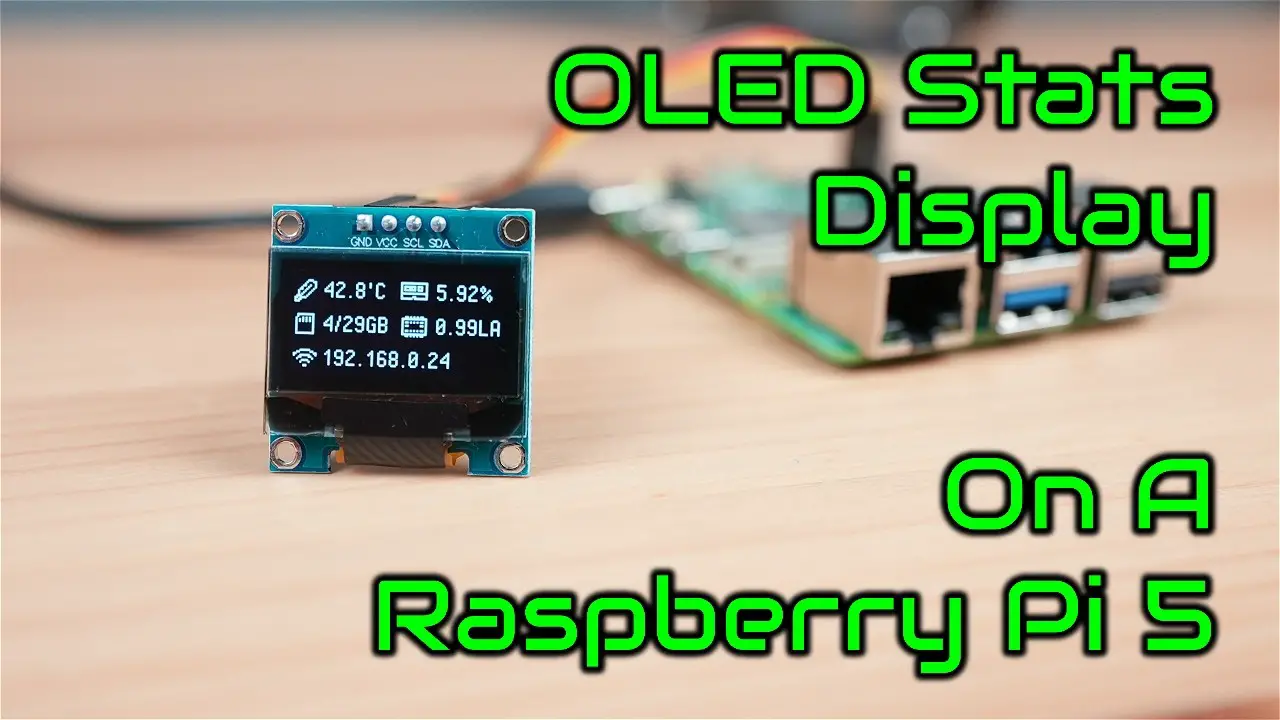
Raspberry Pi OS Bookworm was released last year and as a result, my previous tutorial on setting up an OLED stats display for your Raspberry Pi on OS Bullseye no longer works. So I’ve revised the tutorial to get the libraries installed within a virtual environment and the script running on the latest version of the operating system.
ADDITIONAL INFORMATION
—————————————————
Written Instructions with Terminal Commands on my blog (more detailed) – https://www.the-diy-life.com/add-an-oled-stats-display-to-raspberry-pi-os-bookworm/
Written Instructions with Terminal Commands on Github – https://github.com/mklements/OLED_Stats
Raspberry Pi Desktop Case – https://www.etsy.com/au/listing/1692173143/raspberry-pi-5-ssd-case-for-pimoroni
PURCHASE LINKS
—————————————————
Raspberry Pi 5 – https://amzn.to/3OrRngj
I2C 128×64 OLED Display – https://amzn.to/4i3Nvjd
Female to Female Jumper Cable – https://amzn.to/3B2IfM6
Micro SD Card – https://amzn.to/3AW7a3Z
Raspberry Pi Power Supply – https://amzn.to/4ilxPYX
Ice Tower Cooler – https://amzn.to/3Z42y3P
Note: The above parts are affiliate links. By purchasing products through the above links, you’ll be supporting this channel, with no additional cost to you.
CHAPTERS
—————————————————
0:00 Intro
0:48 Connecting The Display
2:59 Update Raspberry Pi OS
3:51 Install Libraries
4:52 Can Your Display Be Seen
5:21 Install The Script
6:24 Run on Startup
7:03 Conclusion
If you’ve got any ideas for Raspberry Pi, Arduino, or other Electronics projects or tutorials you’d like to see, let me know in the comments section.
source


