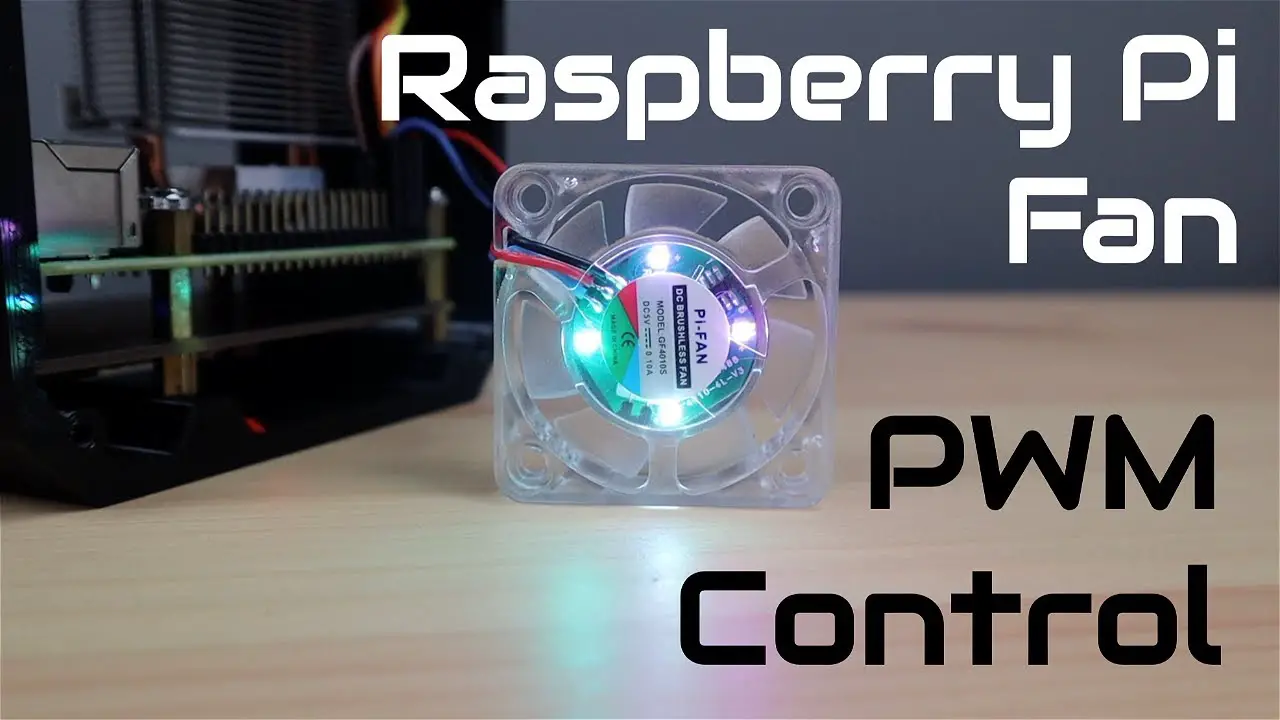
Today we’re going to be looking at how to install and run a PWM controlled fan on a Raspberry Pi. This allows you to run the fan at a reduced speed when the CPU is cool, leading to a quieter setup.
ADDITIONAL INFORMATION
—————————————————
Check out my blog for the scripts and more information on running them – https://www.the-diy-life.com/connecting-a-pwm-fan-to-a-raspberry-pi/
PURCHASE LINKS
—————————————————
Raspberry Pi 4B (This will work on any Raspberry Pi model) – https://amzn.to/3POIWtB
40mm 5V Noctua PWM Fan (Preferred) – https://amzn.to/3TinOyR
or
40mm 5V RGB Fan (Not as quiet) – https://amzn.to/3dYnlSg
Jumper Leads (For Noctua Fan) – https://amzn.to/3KjHChv
Raspberry Pi SSD Desktop Case – https://youtu.be/hIHV5zQfl9Q
Some of the above parts are affiliate links. By purchasing products through the above links, you’ll be supporting this channel, at no additional cost to you.
CHAPTERS
—————————————————
0:00 Intro
1:22 Testing My Script On The RGB Fan
3:07 Testing My Script on the Noctua Fan
4:12 Cleaning Up the Scripts
4:43 Final Thoughts
If you’ve got any ideas for Raspberry Pi, Arduino, or other Electronics projects or tutorials you’d like to see, let me know in the comments section.
source


