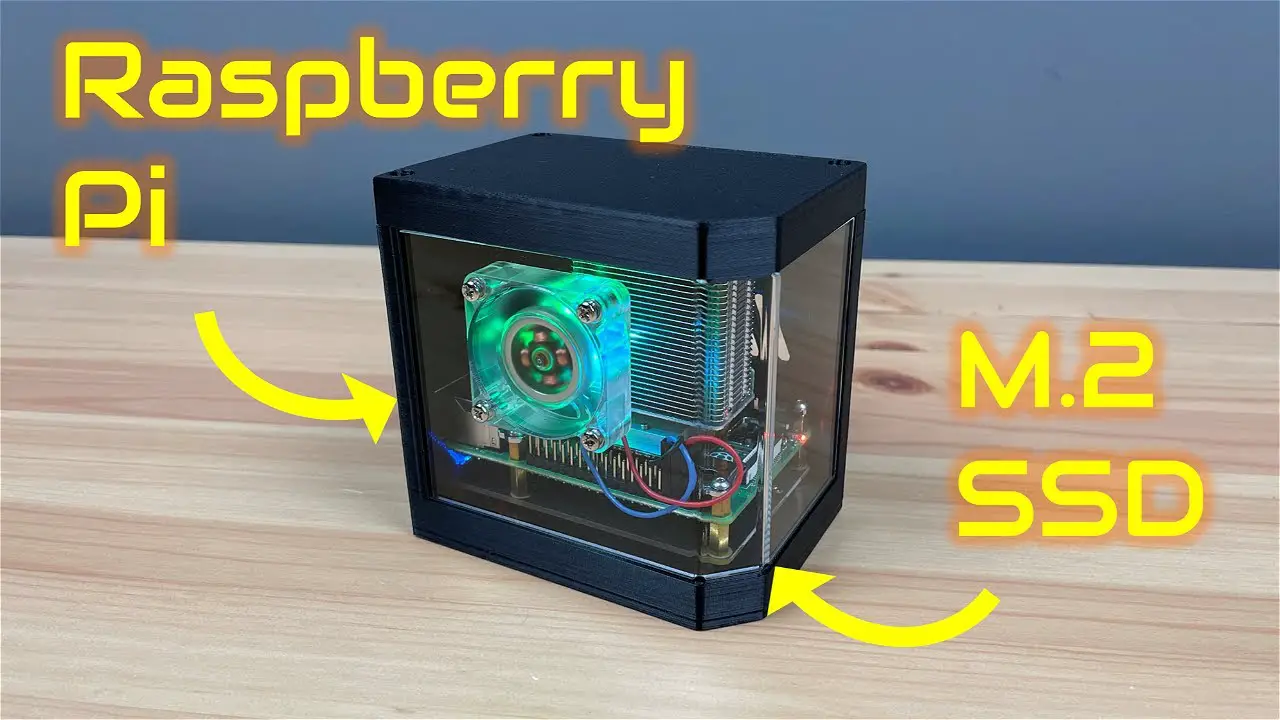
I’ve been using one of my Raspberry Pis in my case with a wrap-around acrylic panel for the past few months. One of the things that has been missing is an SSD, so in this video, I’m going to modify my Raspberry Pi case to accommodate an M.2 SSD shield underneath the Pi to improve reliability and performance.
ADDITIONAL INFORMATION
—————————————————
Visit my blog for the written build – https://www.the-diy-life.com/my-raspberry-pi-case-now-has-an-m-2-ssd-and-its-way-faster/
Get the case CAD files – https://etsy.me/3ydOBUc
Get a premade case kit to assemble your own – https://etsy.me/3ruoCEg
PURCHASE LINKS
—————————————————
Raspberry Pi 4B – https://amzn.to/3e0BL52
Geekworm M.2 NGFF Shield – https://amzn.to/3SA1ZdF
Ice Cube Cooler – https://amzn.to/3ONdI6N
or Ice Tower Cooler – https://amzn.to/3M4mlt1
32GB Sandisk Ultra MicroSD Card – https://amzn.to/3Qe6ObL
M3x8mm Button Head Screws – https://amzn.to/3NOTQPT
M3 Nuts – https://amzn.to/3NOTQPT
Carbon Fibre Fan Grill (optional) – https://amzn.to/3xnVjWB
Tool & Equipment Used:
Creality Ender-3 S1 Pro – https://amzn.to/39lxlTX
Gweike Cloud Laser – https://bit.ly/3qbXvNx
Use my discount code MK200 on checkout to get $200 off
Electric Screwdriver – https://amzn.to/3aOeDVa
Acrylic Bender – https://amzn.to/3b0A4ma
Some of the above parts are affiliate links. By purchasing products through the above links, you’ll be supporting this channel, at no additional cost to you.
CHAPTERS
—————————————————
0:00 Intro
0:26 Components To Be Used
1:57 Making the Case Components
3:22 Installing The Components
5:15 Installing The Fan
7:12 Flashing The OS
8:02 Speed Test
8:42 Final Thoughts
If you’ve got any ideas for Raspberry Pi, Arduino, or other Electronics projects or tutorials you’d like to see, let me know in the comments section.
source