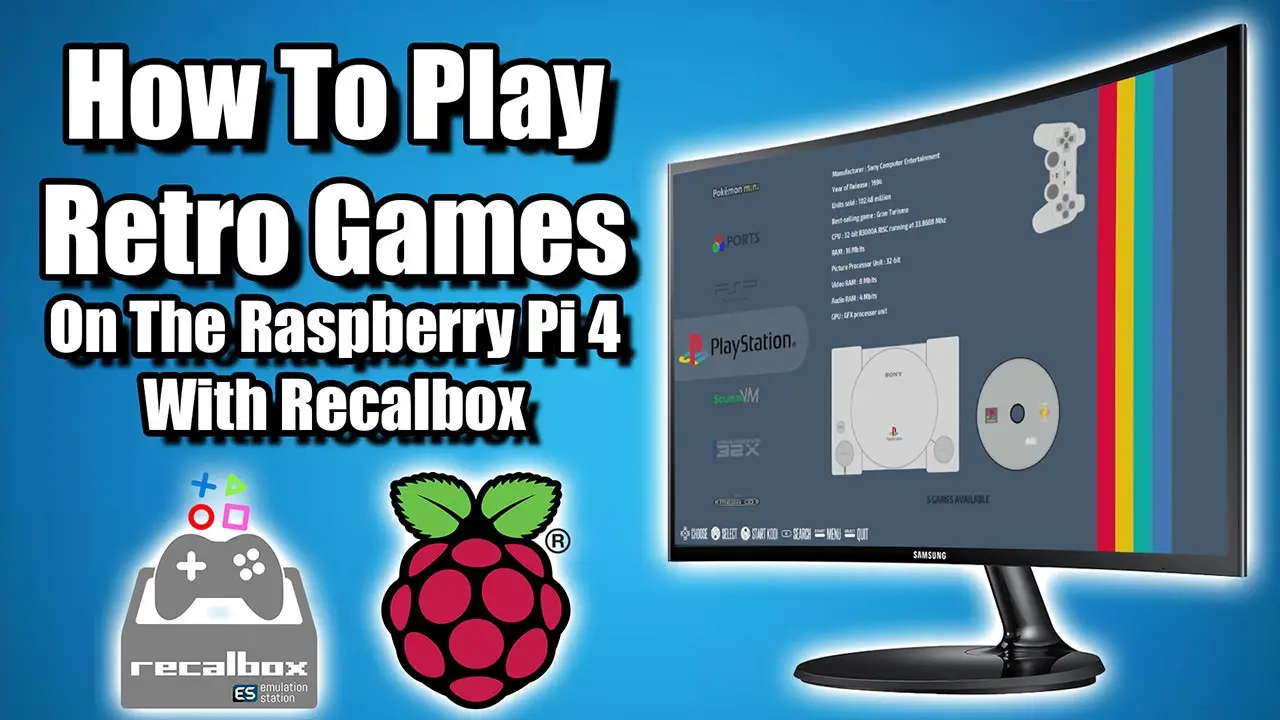
In this video, I show you how to install and set up Recalbox 7.0 or higher on the Raspberry Pi 4!
In my opinion, this is one of the easiest retro emulation frontends to use with the Raspberry Pi and the Recalbox team has made it even easier with the inclusion of a shared partition! This allows you to easily add games directly to the micro SD card from Windows or Mac PC.
Get Recalbox here: https://www.recalbox.com/
Recalbox documentation: https://recalbox.gitbook.io/documentation/
Need A Raspberry Pi 4?
Pi4 4GB: https://amzn.to/38YNTe6
Micro Sd Card: https://amzn.to/2Ud25L3
Micro HDMI: https://amzn.to/3a06A2e
Power Supply: https://amzn.to/33rUdex
Music By LAKEY INSPIRED: » SoundCloud: https://soundcloud.com/lakeyinspired
Follow Me On Twitter: https://twitter.com/theetaprime
Follow Me On Instagram: https://www.instagram.com/etaprime/
Equipment I Use:
Screen Capture Device: https://amzn.to/2STpX4C
Tool Kit: https://amzn.to/2M6l9WS
Soldering Station: https://amzn.to/2FtdVeu
Camera: https://amzn.to/2M6KFLB
Tripod: https://amzn.to/2CmdYVY
Raspberry Pi 4: https://amzn.to/3cCrvKb
Flirc Case: https://amzn.to/2OBQTXz
DISCLAIMER: This video and description contains affiliate links, which means that if you click on one of the product links, I’ll receive a small commission at no extra cost to you!
This video and Channel and Video are for viewers 14 years older and up. This video is not made for viewers under the age of 14. If you are under 14 years of age, you do not have permission to view this video.
Want to send me something?
ETAPRIME
12520 Capital Blvd Ste 401 #108
Wake Forest, NC 27587 US
THIS VIDEO IS FOR EDUCATIONAL PURPOSES ONLY!
source