There are a dozen ways to install operating systems for the Raspberry Pi, but we have found the best image writing software. And it’s called Etcher. It’s free, simple to use and is available for Windows, Mac, and Linux. Follow along with this guide and you will see how simple Etcher is to write Raspberry Pi images to your Micro SD Card.
HARDWARE LIST
- USB Micro SD Card Reader
- Minimum 8GB Micro SD Card
SOFTWARE LIST
- Raspbian Lite Image or one of your choice
- Etcher (Windows, Mac or Linux)
Etcher – Raspberry Pi Image Writing Software
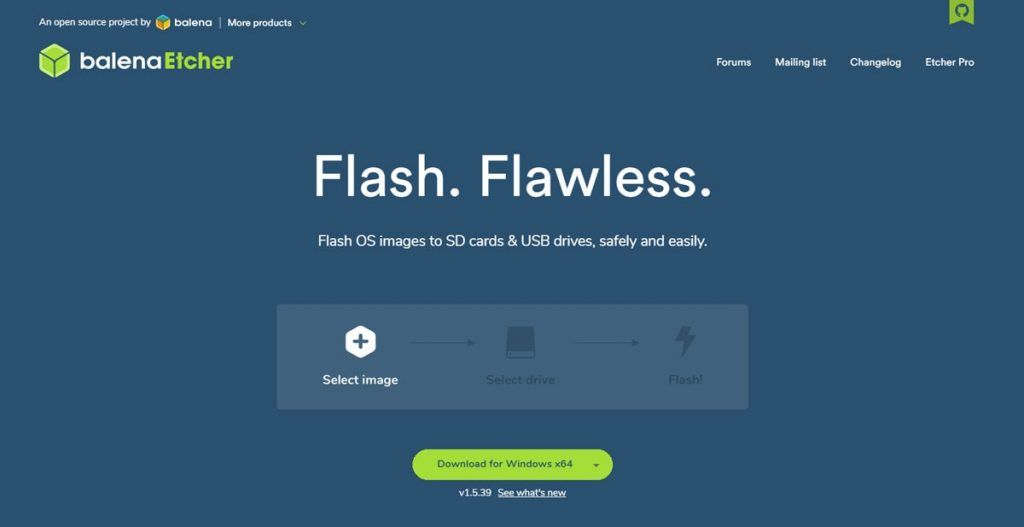
First off we need to download the Etcher software for either Windows, Linux or Mac. Follow the Etcher Website link and click beside the green button for the dropdown list of supported operating systems. Windows x64 is fine for most windows users or choose your appropriate system to commence the download.
When Etcher has finished downloading, you can go to your download location and launch the installer. Depending on your particular computer, this shouldn’t take too long to complete. Once complete, let’s start Etcher!
Select Image
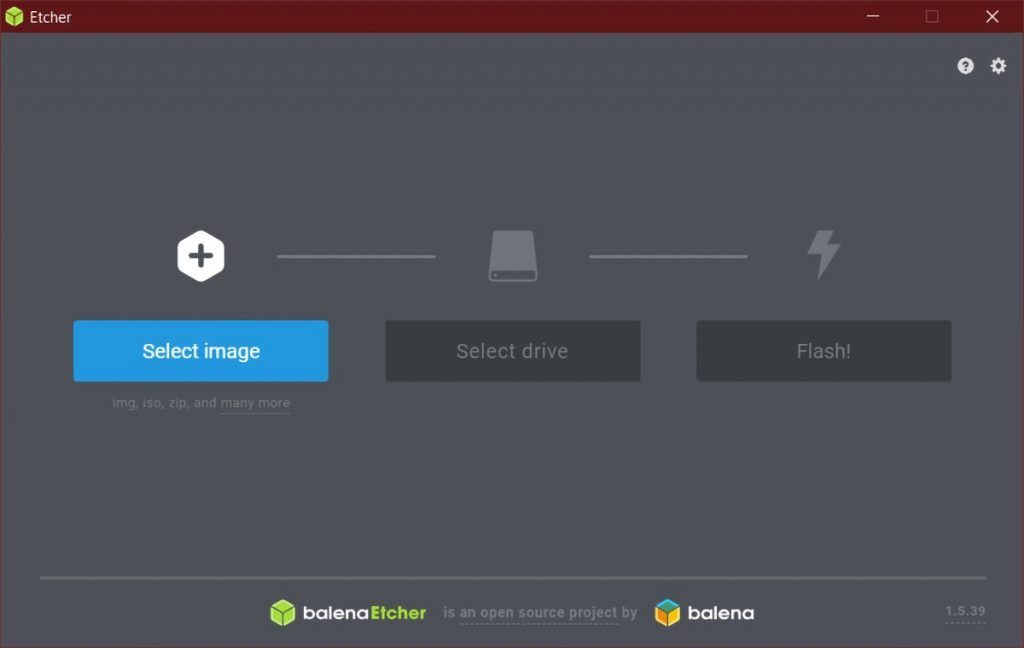
The first screen you will see is the main screen for Etcher. Here it’s as simple as three steps. The first step to complete is to Select the Image you want to write to your Micro SD Card.
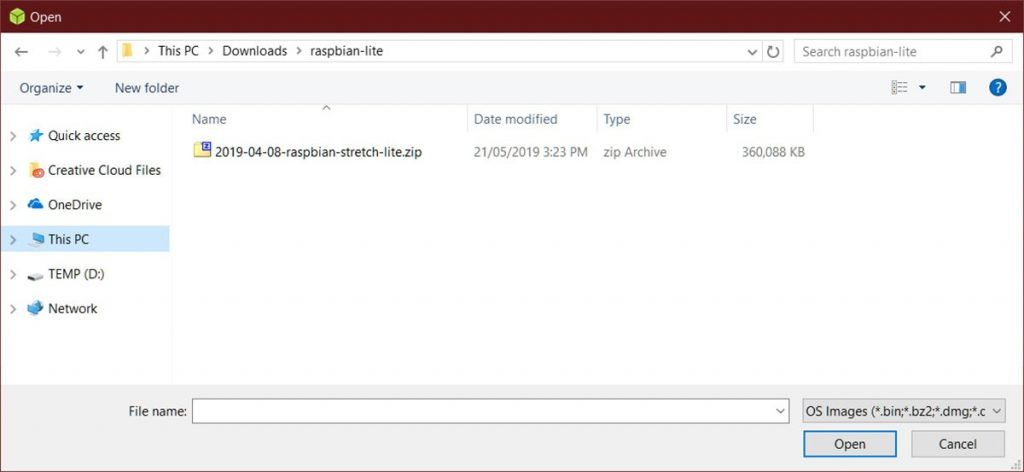
Clicking the Select Image button will bring you to your File System where you can choose the image you are going to write. In my instance, I’ve downloaded the latest Raspbian Lite image in ZIP format.
Another great thing about Etcher is you can leave your images compressed, and the software will be able to handle everything. How simple is that! Once you’ve chosen your file, we can go on to the next step.
Select Drive
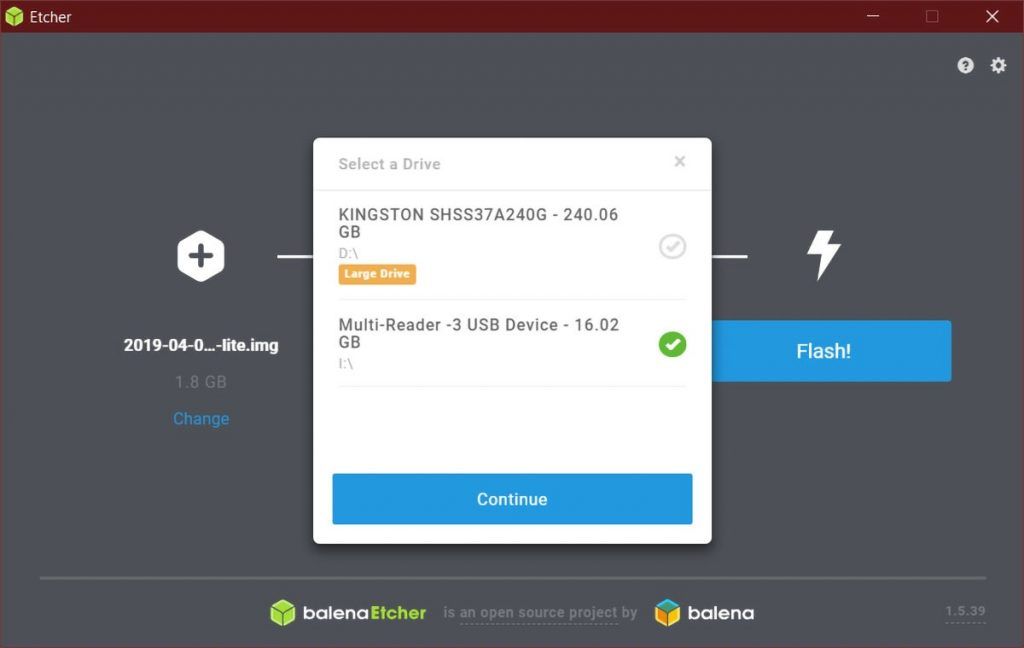
The Select Drive option is where you will choose the correct drive that you want to Flash the image. You will need to have connected your USB Micro SD Card Reader to your computer with your Micro SD Card inside. When you click on Select Drive, you will see a new window listing all the available drives.
In my example above, there is a KINGSTON 240GB drive and a Multi-Reader USB Device 16GB. So I can tell here that my 16GB Micro SD Card is the correct one to choose. Please be cautious here as some External SSD or Hard Drives may show up in your list.
Select the correct drive, and a Green tick will appear beside it. Then you can click continue, and we can proceed to the last step.
Flash
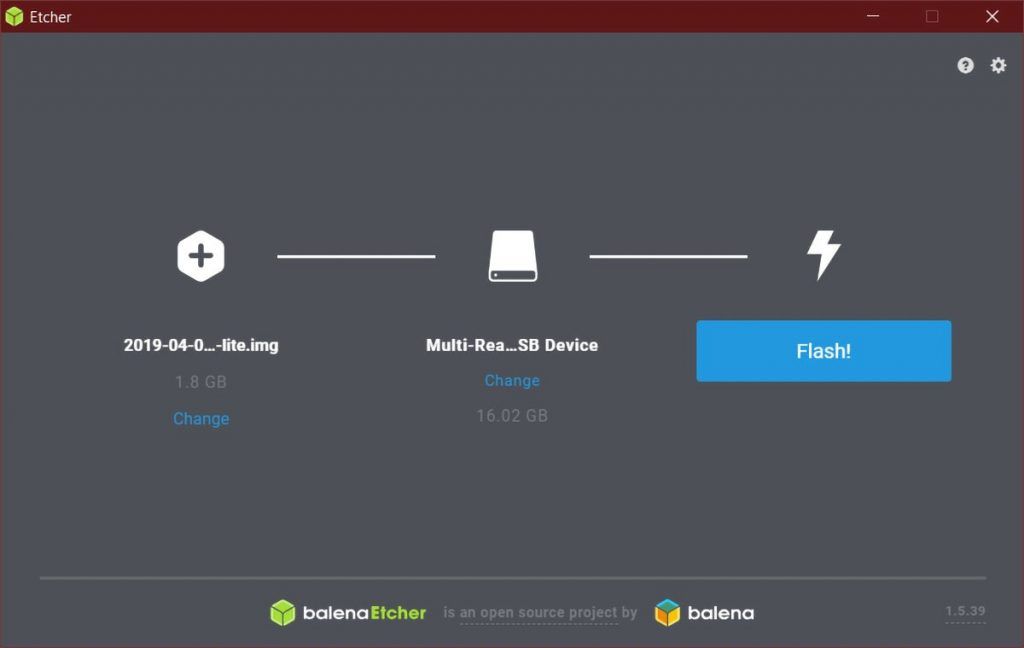
Here’s where we can review both first steps and make sure we have selected the correct image and the micro sd card. If everything appears to be correct then click on the Flash button. You will see the following screen showing us how far the flashing of the Micro SD Card has proceeded.
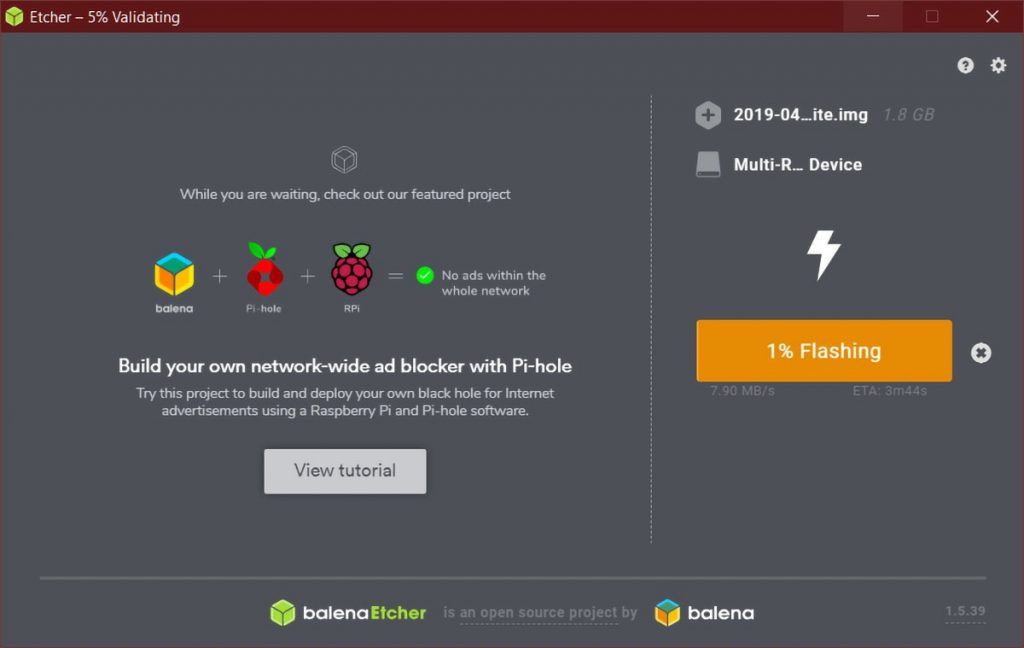
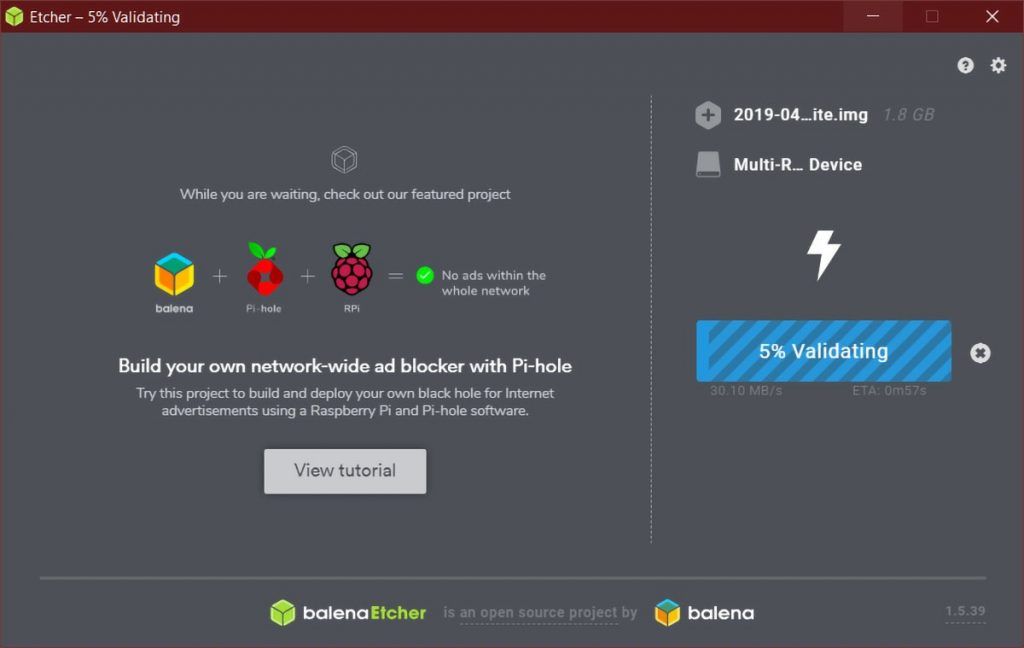
Validating
Once the Flashing of the drive has finished, Etcher will then Validate the information and data written to the Micro SD Card. A good Fail Safe measure to make sure everything went the way it should have. Validating is a lot quicker than the Flashing stage, so please be patient.
Flash Complete
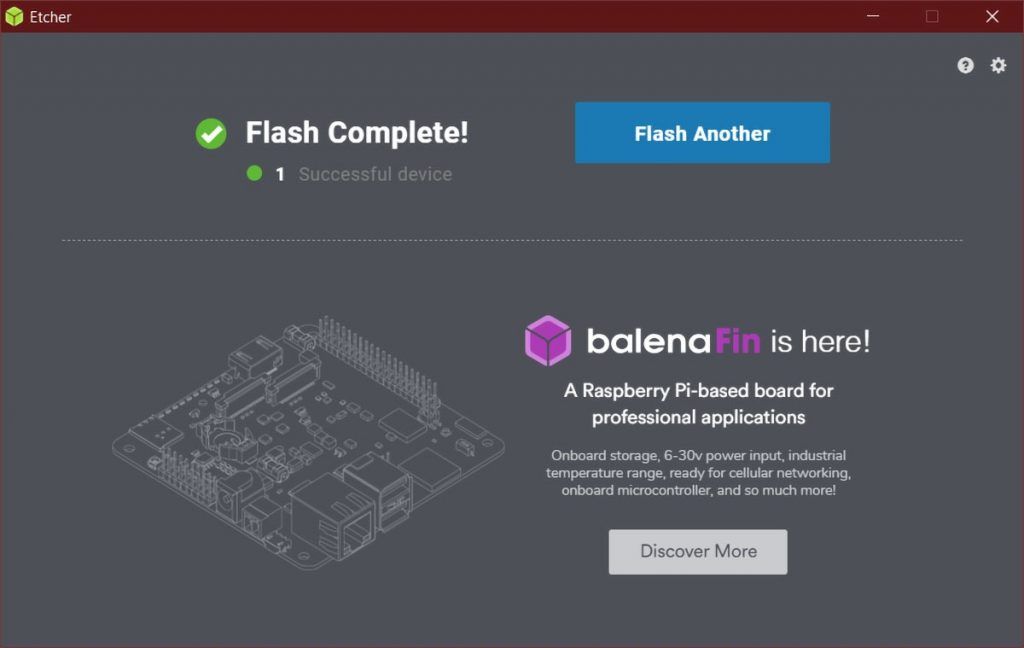
Upon completion of the Flash, Etcher will automatically eject the Micro SD Card so you can use it in your Raspberry Pi right away. That is one of the reasons that Etcher is the most accessible pieces of software to write Raspberry Pi images to a Micro SD Card. No need to format or choose the correct File System. Etcher handles all this without any input from you.
Advanced Settings
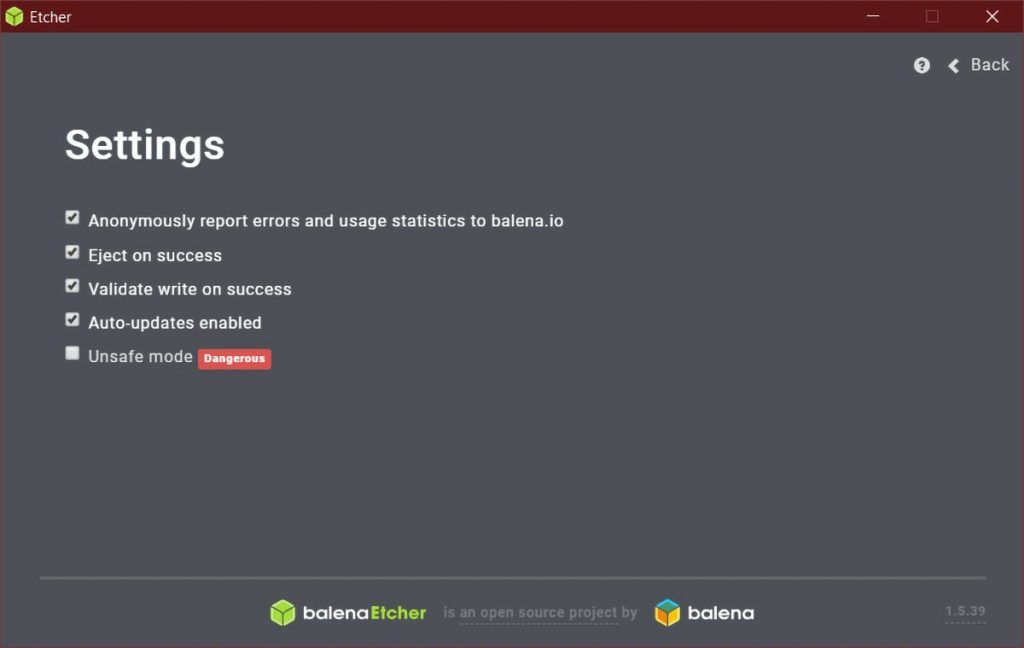
Now if you fancy getting a bit deeper with Etcher, then clicking on the Cog Wheel Icon in the top right corner will bring you to the Settings section. Here you can change a few settings like Eject on Success or Validate write on Success. Choose wisely, but try and avoid Unsafe Mode as this isn’t something that you would need. It’s mainly for Advanced users wanting to write images to Internal Hard Drives.
Final Thoughts
Etcher is a simple and easy to use software package that can write Raspberry Pi images to a Micro SD Card in just a few steps.
- Choose your Image
- Choose your Micro SD Card drive
- Flash the Image to the drive
It doesn’t get any more simple than that!